HDR Photography
- Shooting a HDR
- Getting it off the Camera
- Blending Time
- Final Processing
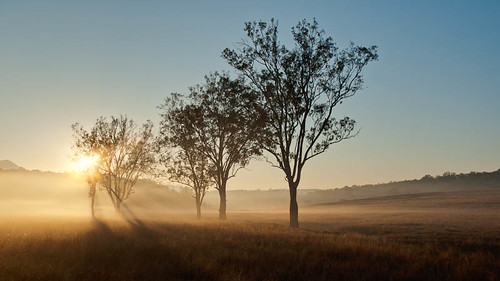
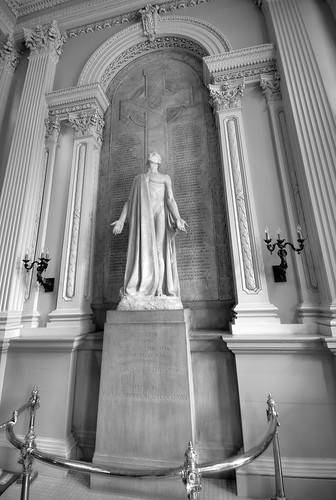
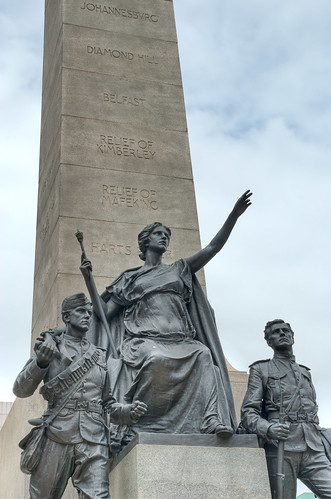
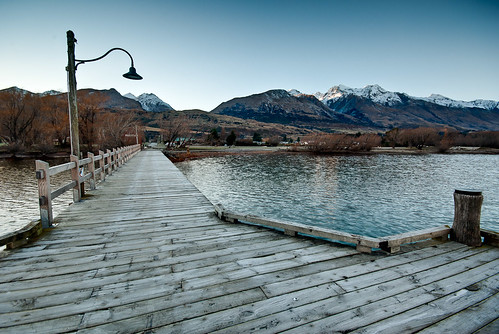
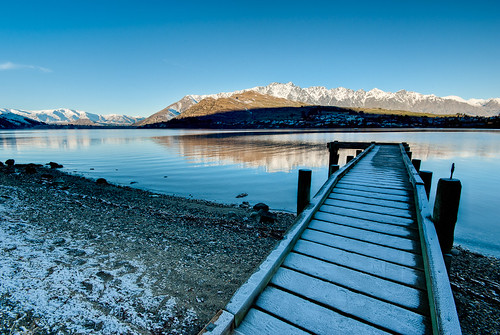
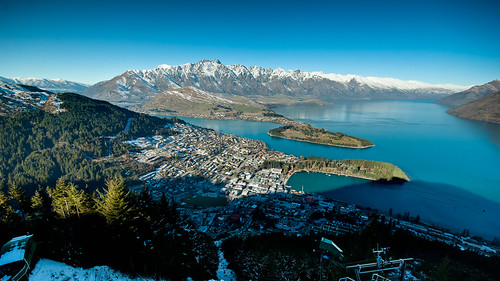
- Some Inspiration
Off The Card
Now that you have been out and shooting bracketed shots, or bracketed panorama shots, you have at least 3 times as many images on your memory card to deal with. These are the steps I go through when I am getting my shots off the camera and doing the initial viewing in Lightroom.
Import
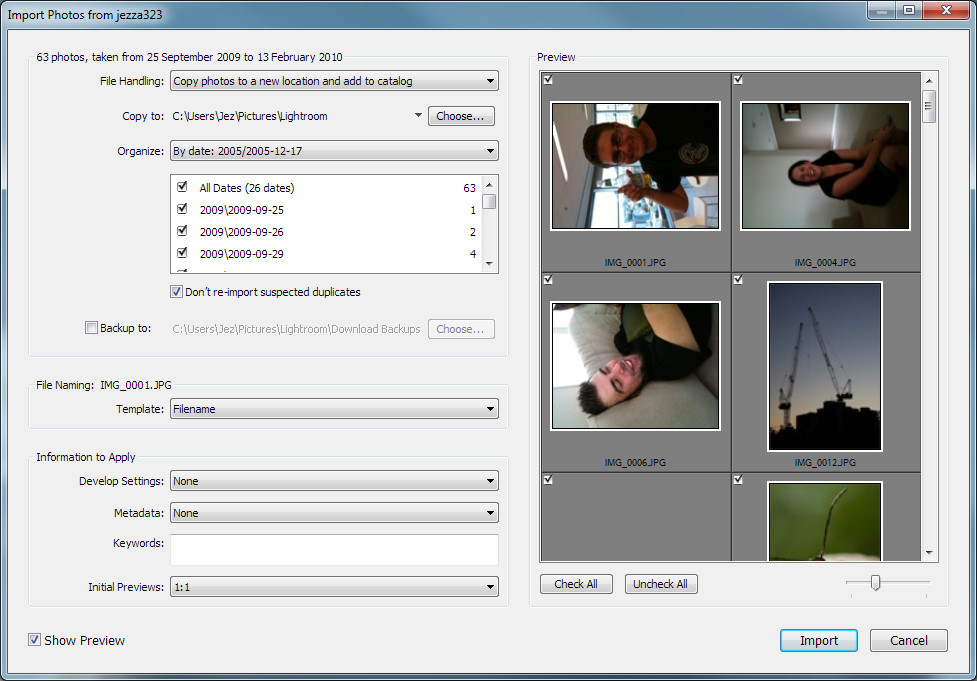
I import from my card reader using Lightroom’s import function. This automatically imports images into my photos folder, under a YYYYYYYY-MM-DD (ie 20102010-01-12) format. You can also ask Lightroom to backup the photos to a 2nd location when importing, very important, and simple to do.
Review
The first thing I do after import, is a quick review of imported images in the Lightroom Library module. I work my way through, viewing every image (only briefly). If I believe a HDR set of 3 (or more) bracketed images is worth processing further, I will select all the images, then I will export each set to its own subfolder, such as “HDR-1″ or “HDR-4″ as a 16-bit TIFF file (you must not use the compression option for your TIFF files, photomatix does not support it). I then stack the selected images (stacking is a lightroom feature) using the Ctrl+G shortcut. This leaves me with a number of subfolders in my working folder, which need to be processed further. (When doing HDR Panoramas I export all the images into a single folder, ie. “HDR-Pano-1″)
Windows Explorer
I will then open up Photomatix on my main monitor (I have a dual monitor setup, with a decent 24″ Dell and an old 17″ LCD) and Windows Explorer on my 2nd smaller monitor. At this point I will navigate to my first HDR subfolder, select the images I wish to blend in Photomatix, and simply drag and drop them from my Explorer window onto Photomatix.
Photomatix
After dropping some files onto Photomatix, a small dialog asking what you want to do with the images will be displayed. If you wish to just blend them together (as opposed to HDR) then select that, otherwise you will want to choose “Generate an HDR image”. You then need to confirm the selected images. Photomatix will then ask you to select some settings to use to generate your HDR.
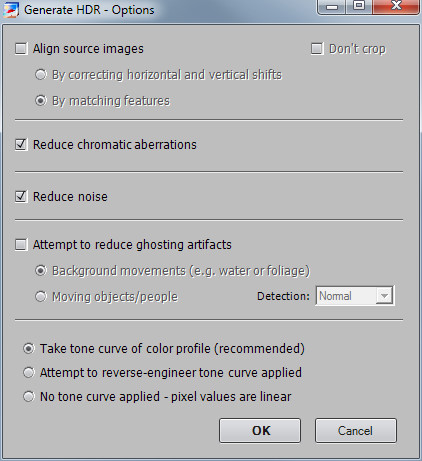
Generate HDR Settings
- Align source images – If you were not using a tripod, you should check this box. I usually use the “By matching features” method, but if that does not work, then you should also try the “By correcting horizontal and vertical shifts” method.
- Reduce chromatic abberations – I always leave this checked, as the HDR process enhances any CA in the shot
- Reduce noise – I always leave this one checked too, again because the HDR process enhances any noise in the shot.
- Attempt to reduce ghosting artifacts – If you have some people/cars/boats in your image which move between the seperate shots, you can try using this option to have Photomatix attempt to remove them, however it doesnt always work. If you find it results in black or white sections of the image (obvious blending errors where the moving objects were), you should start again and not select this option, you can always fix it in the final image. For this one I usually try the “Moving objects/people” option, because thats what I’m trying to remove. If you have a tree which blows about in the wind between shots, use the “Background movements” option.
Now you are ready to click OK. Photomatix will take a few moments, then display you a rather strange looking version of your image, ready to be Tone Mapped. If you notice anything wrong with the image at this point, such as the black/white sections from ghosting or misalignment of the images, you should close, and start the process again here.
I will leave it there for today, in the next post I will cover the Tone Mapping process.