HDR Photography
- Shooting a HDR
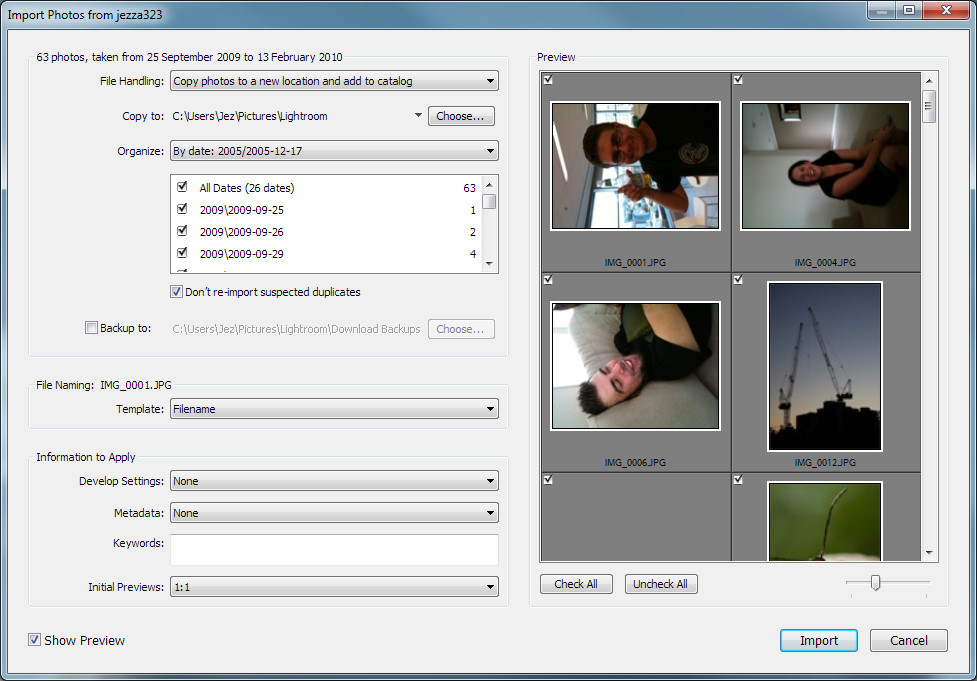
- Getting it off the Camera
- Blending Time
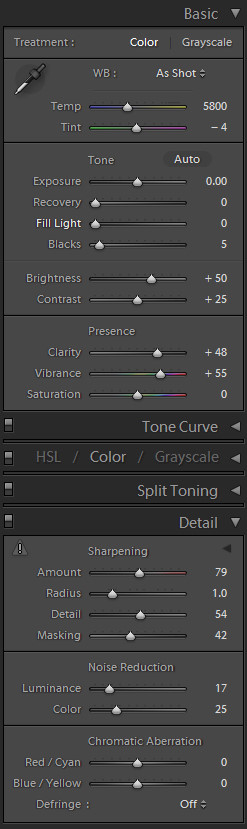
- Final Processing
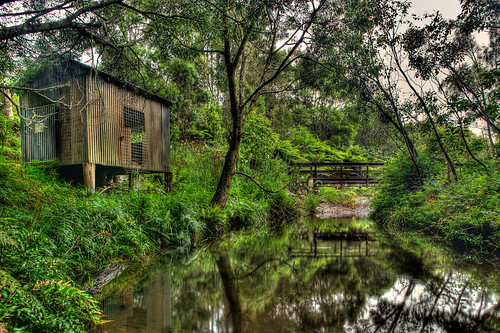
- Some Inspiration
Time to Mix Exposures
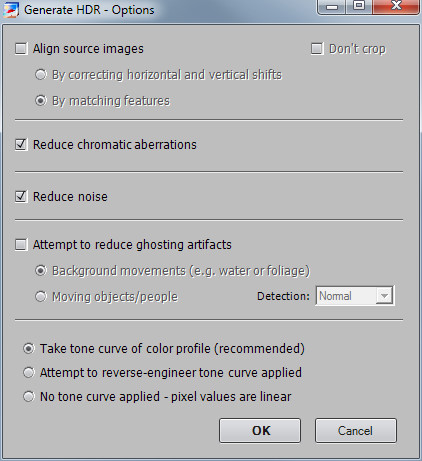
If you have been following this series, at this point you will have taken some bracketed shots, grouped them together somehow, and then opened Photomatix, and set some options to have your images stacked together. Now we will cover the process of Tone Mapping your image down to 8 bits of information per pixel.
Checking Your Shot
The first thing you need to do is click the Tone Mapping button on the left in Photomatix. This will open the Tone Mapping dialog, with a preview pane to let you see the effect of the changes you are making. Once you have the preview pane available, you should check over it.
The things you need to check for are:
- Alignment issues (even if you didn’t use the “Align source images” option, still have a quick check)
- Ghosting issues (black or white “holes” in the image where moving objects appeared)
If you do find some issues, you can either leave them be, and fix them later in the GIMP or Photoshop (whatever your image editing app of choice is) or you can try the blending process again, with some different settings to try and reduce the effect.
Details Enhancer
Now all you need to do is Tone Map your photo, and you are pretty much done. However this is probably the hardest part of the process. There are just sooo many options, which change the results so much. When I first started I had a basic favourite few settings, and I would jiggle the sliders a little on 2-3 options, and that as about it.
After some time of this, and a bunch of rather boring HDR images, I went googling for some inspiration, and came across this set of “presets” from Stuart (whoever Stuart is!) – Stuart’s Photomatix Presets. Now there are quite a lot of presets here, and it has taken me some time to get to grips with them all, but the process I used when I first downloaded them, was to go through, and select each one, and see the result for myself in the preview window. I would then choose the one I thought looked best, and make minor adjustments (usually lower the Colour Saturation, and maybe make it a bit brighter or darker with the White/Black level sliders) and go with that.
Now that I have been using that method for a while, I know what sort of results I can expect from different Presets, so if I know a certain look will work with the image I’m working with, I can go straight to that preset, make some minor adjustments and I am done. I have also created some more Presets of my own. Most of mine are minor adjustments of the downloaded Presets, but they work for me in saving time and effort exploring all those sliders every time.
Tone Compressor
The Tone Compressor method of Tone Mapping is not one I have used very much to be honest… I find I am unable to get a good contrasty image out of it, every time I try I end up with an image with flat colours. It does tend to avoid that nasty halo-ing you get with the more “extreme” Details Enhancer methods though. I used the Tone Compressor method on this Project 52 photo – Project 52 – #1 – It Begins, but as I look back on it now, I do find the colours a little flat. Definately have a play around with this one though, it is far simpler to understand, and if you keep an eye on the Histogram as you make changes you will get a good idea of what each slider does.