Well I have to revisit this series which I thought was complete. Al Williams (see his photography blog) contacted me to remind me that there is another way to take macro photos which I hadn’t mentioned at all, close up filters!
Macro Photography Techniques
- Close Focus Lens
- Teleconverters
- Extension Tubes
- Reversed Lenses
- Macro Lens
- Combining Techniques
- Close Up Filters
Close Up Filters
Close Up filters are actually lenses which mount to your regular lens via the filter mount. There are a few different types available. They provide extra magnification without altering too much else. The filters are available in various levels of magnification, various sizes, and all kinds of quality levels (and prices too). The most popular type I have seen discussed is the Raynox DCR-150 and DCR-250. These are high quality lenses which have a quick mount/dismount clip rather than the standard threaded mount for the lens. The Raynox lenses are not available in varying sizes though, so you are somewhat limited as to which lenses they can be mounted to. The standard screw mount filter was very popular in the past, so it can be quite easy to find a “set” 2nd hand. A set of close up filters is usually made up of 3 filters, all the same filter size, but in varying amounts of magnification. These filters can be used individually or in combination to get various levels of magnification.
Image Quality
I have never tested a set of close up filters myself. I do have reservations about the loss of image quality which may occur when using these lenses. Having said that, the loss in quality from a high quality filter/lens should be no more than the loss you get from using a UV filter. When looking to buy a filter (or a set) I would recommend paying some extra money, and sticking to the well known brands. I would imagine that when using the “set” of filters, combining all 3 may result in a noticable loss of quality (after all it is 3 more lenses for the light to pass through) but if it provides the magnification required then its more than good enough. These sets of filters are usually numbered based on the amount of magnification they give. A typical set consists of a #1, #2 and #4 filter, where #4 gives the most magnification.
Al’s Shots
Al not only told me to get my finger out and stop forgetting stuff, he even kindly offered to take some photos using his set of close up filters, and share them with you on the blog. So here they are. You can see other shots Al has taken on his flickr account. All shots were taken with the Pentax SMC M 50mm f2.0 lens @ f8.0, 1/15 sec and ISO 500 and at minimum focusing distance.
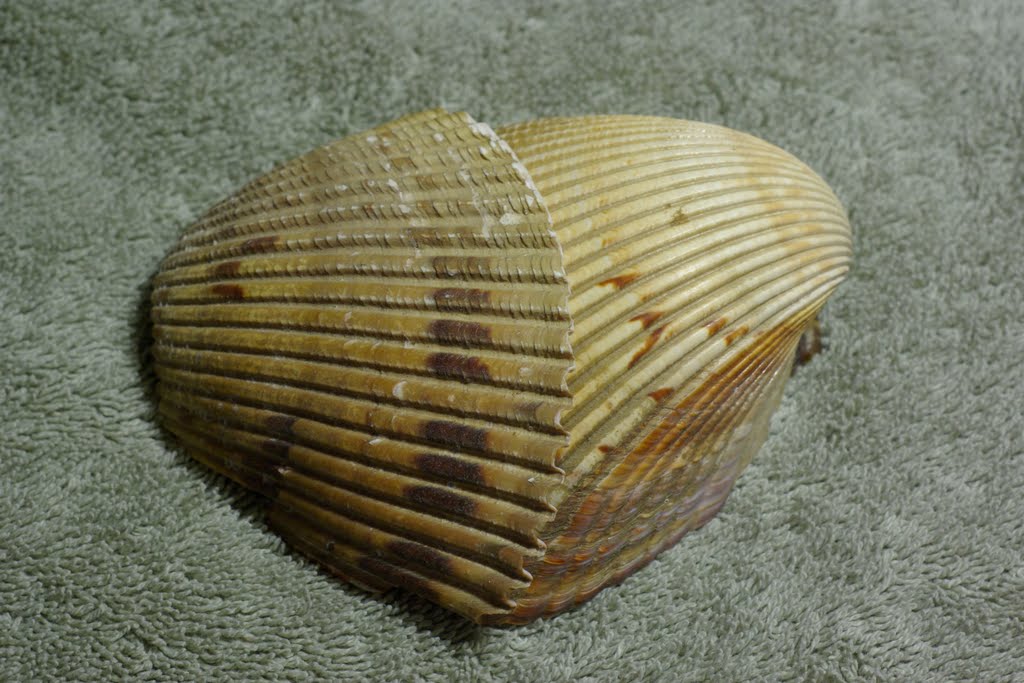
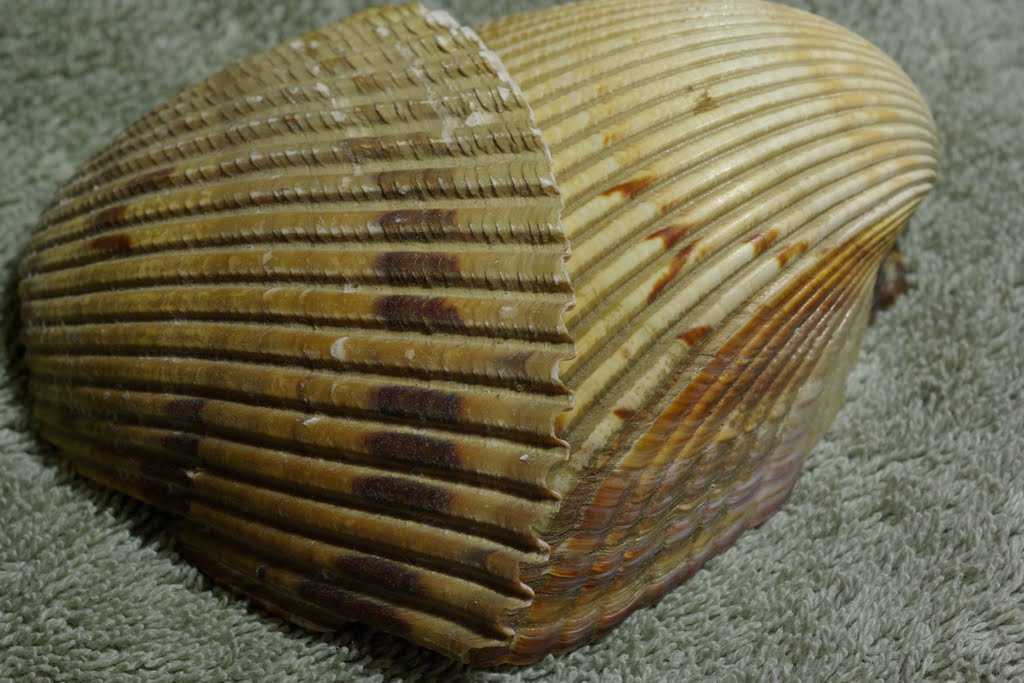
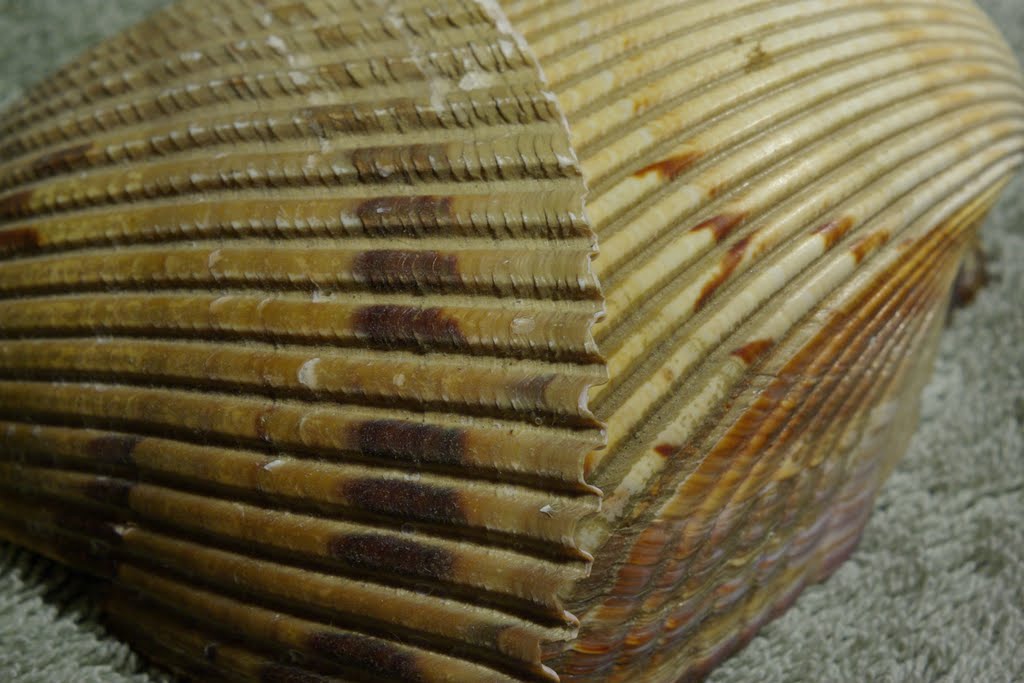
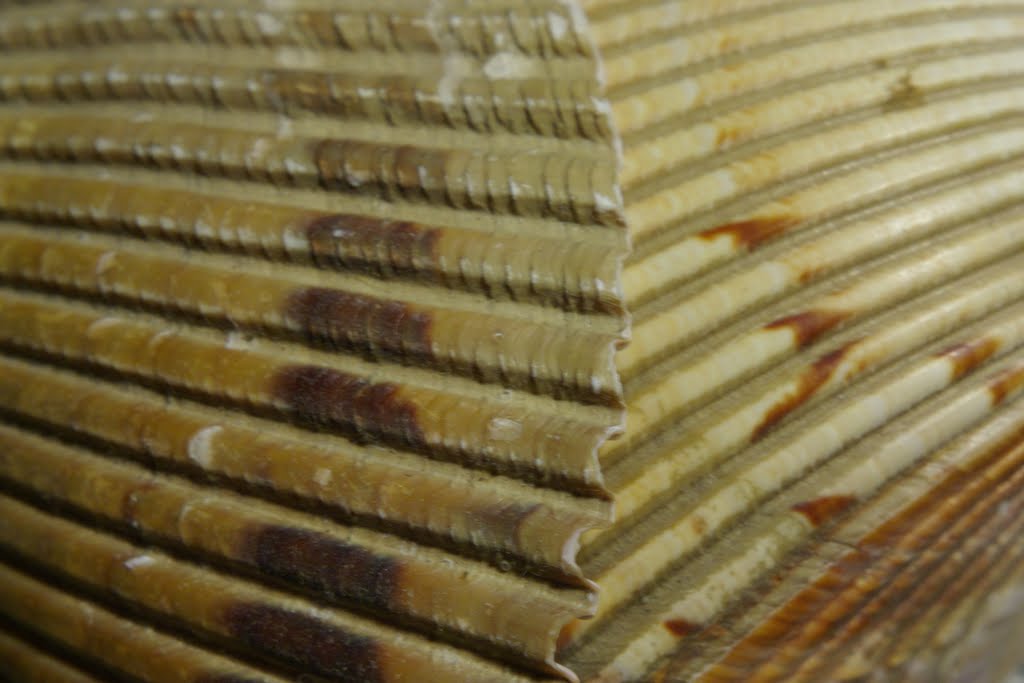
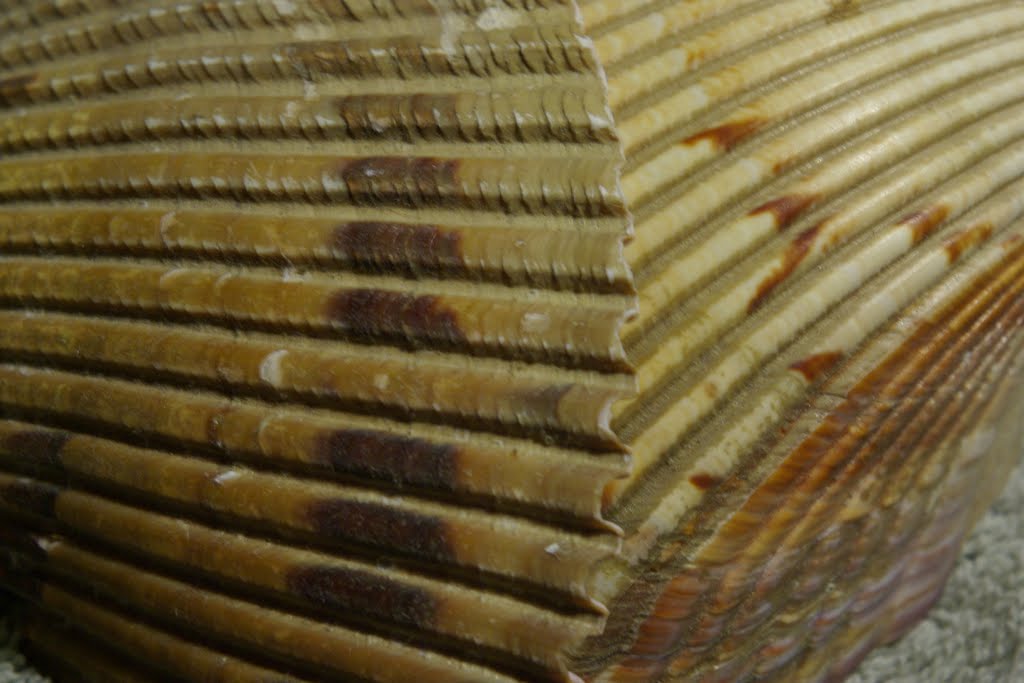
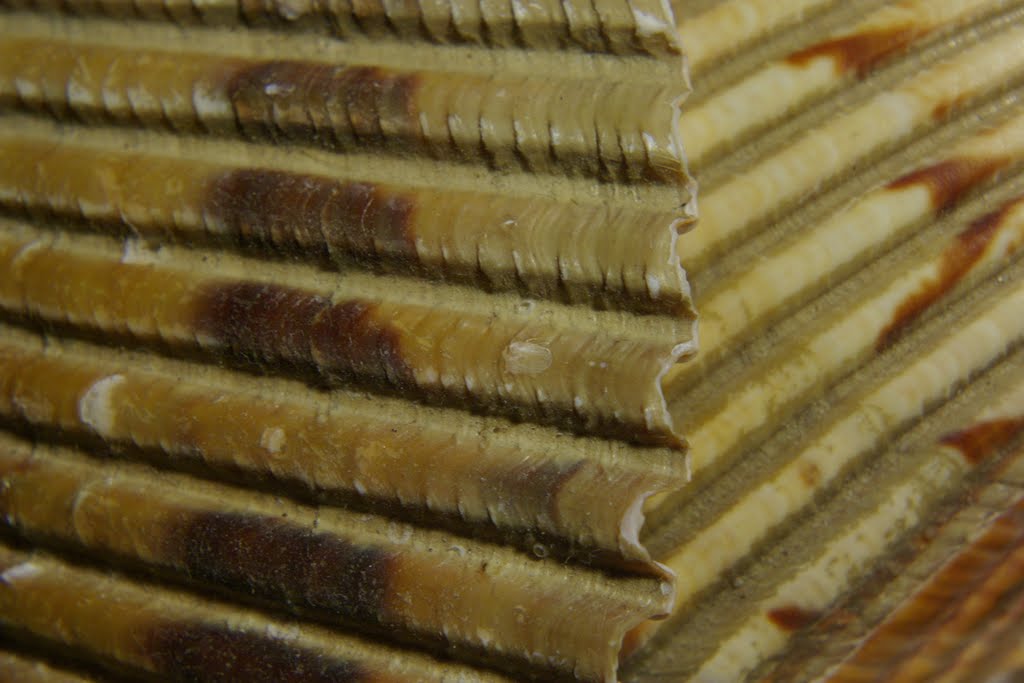
As you can see, the magnification differs quite a lot between the filters, and the combinations of filters. So there is yet another way to take some great macro photos. Big thanks to Al for pointing out my error in missing this option, and even bigger thanks for providing the images.